Food Photography
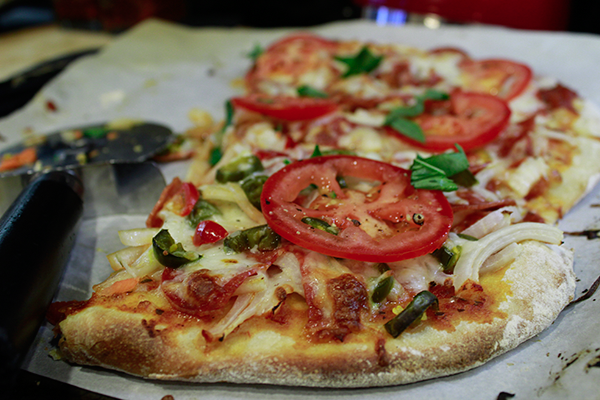
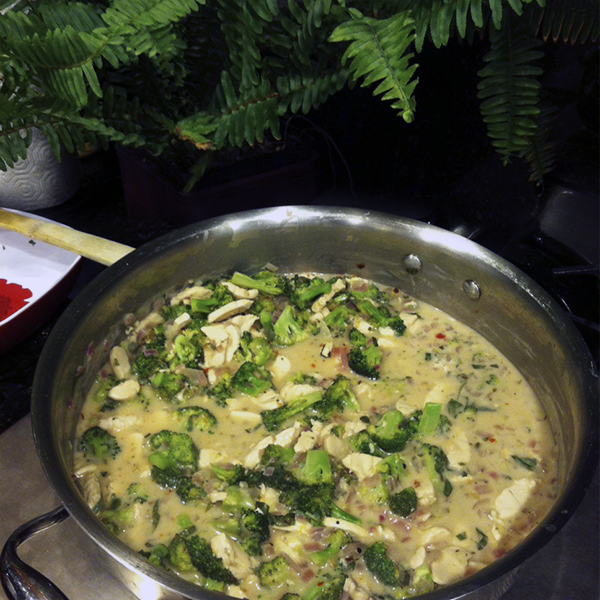
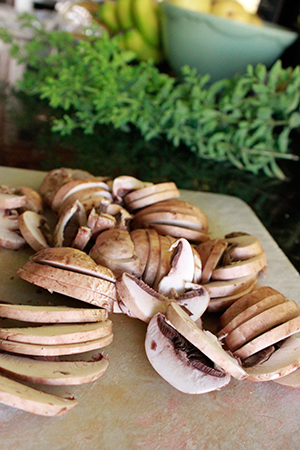
Interested in taking better photos of your food? There really isn't much to it - and most of what you need you can glean by looking carefully at other people's images. But to break it down, here are our nine tips on taking better food photos: photo lighting, image composition, ingredients and best plates, including old family photographs, white balancing, photographing the process, getting up close and accessorizing.
1. Photo Lighting
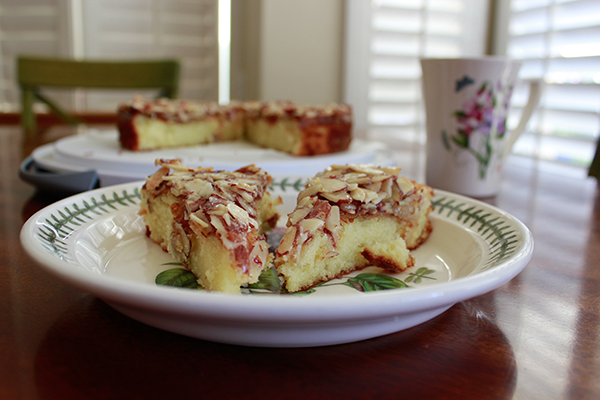
We almost always use available natural light for our images. And we don't always follow the old rule of having the light source at our back.
Here we shot into the window and the result is just fine.
What is most important is to ensure that your camera is properly white balanced (see below) |
2. Image Composition
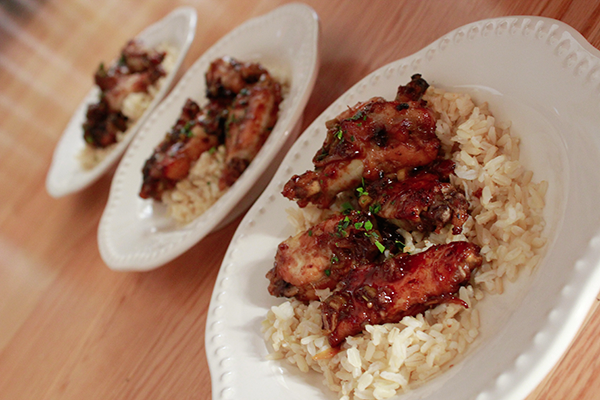
Look for repeating patterns in your food photography. Or get in close to find interest.
Diminishing lines (items disappearing into the distance) are another effect to watch out for. Always consider your foreground and your background - make deliberate choices for both. |
3. Snap the Ingredients!
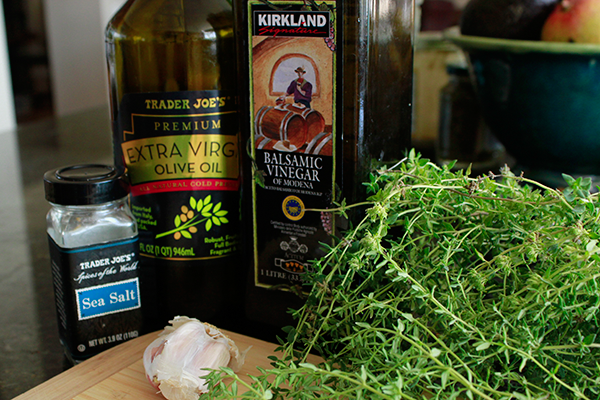
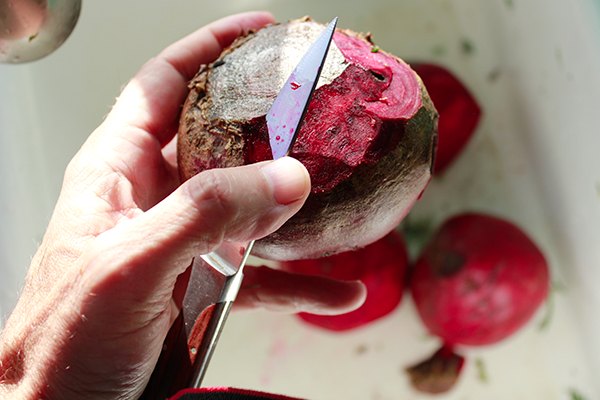
Good food is all about your ingredients - so take a few photos of them!
If you are like me, you are apt to forget exactly what brand or quantities you bought that you liked - so I make a record. Labels can be pretty cool in and of themselves - they deserve some attention from your camera!
|
4. White Plates = Best
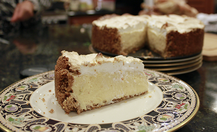
We actually use all kinds of plates in our food photographs. But if in doubt, use a nice white plate to set off the colors of the recipe.
But like any good rule, it was made to be broken so take out the Lenox or the Portmeirion too. |
5. Include Old Photos
|
Depending on where you plan to display your food photographs - maybe you will make your own Weebly website (like this), maybe you will collect them into folders, maybe you will print them out and stick them into your own recipe book - you can easily include old restored or repaired photos that put the recipe into your particular family's special context.
|
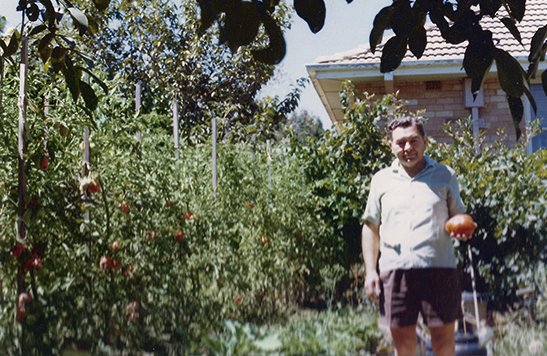
Here we have Dad who was a keen gardener. We repaired and restored this old photo and used it in our recipe for tomato soup.
|
Don't be put off if the old photo is scuffed or discolored. Even scratched and torn photos can be repaired. And hey, it's an old photo so no one can expect perfection.
Either do the restoration yourself or use a professional photo restoration service. Full disclosure: this photo repair site is actually one of ours! |
6. White Balance
Do you remember when you could buy "daylight balanced film" and "tungsten balanced film"? The reason is that your light source has color (inside lights are a bit yellow; daylight a bit blue).
These days you get the right "white balance" either by trusting your digital camera's "auto" settings; or better yet, you set your camera's white balance manually. With a digital SLR this is normally done by taking a picture of a white piece of paper under the prevailing light conditions then setting it as white in your menu settings. |
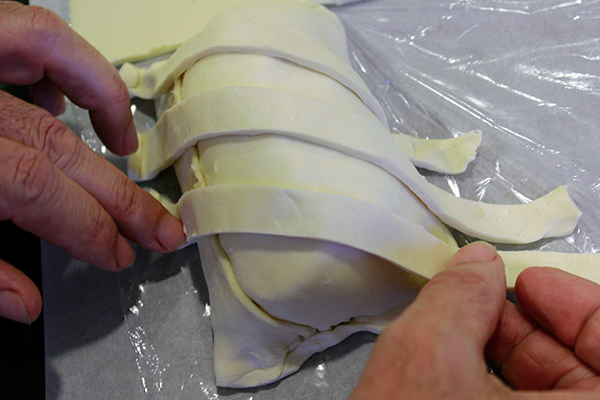
7. Photograph
|
8. Up Close and Personal
Almost any image can be improved by cropping - cutting away some of the background so your audience's attention is directed at the important parts.
So, you can crop during the editing process - or you can just move in a bit closer at the time you take the photograph.
Be careful though - hot steam and spitting fat may coat your camera lens! |
Accessorize!
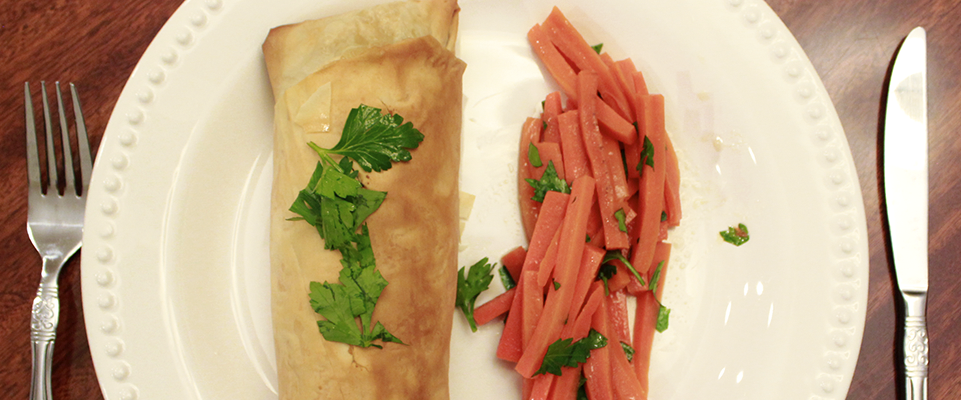
You can accessorize with other food items, or side dishes, or with crockery, or even greenery.
Be judicious though - you don't want to shift the spotlight off the food.
|

